A Year with the Gen 3 Starlink Trio Flatmount: Insights and Tips
This is the post 1 year review of our time with the Trio Flatmount for our Gen3 Starlink. Our dish has been on the roof non-stop since installation.
Ben Sharp
6/9/20265 min read
Heads up: a couple of the links below are affiliate links. If you buy through them it helps support the channel, at no extra cost to you.
For our first year on the road, getting online meant the same ritual at every single stop.
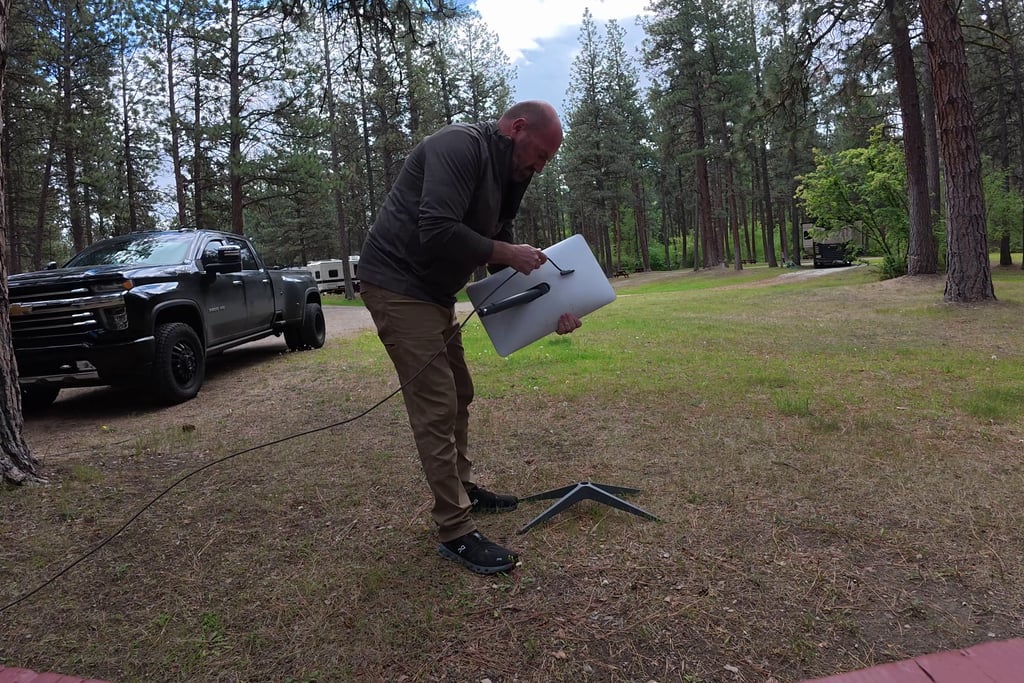
Pull the actuating dish out of its tote. Find a clear patch of sky. Set it on the ground, run the cable, wait for it to find the satellites. Pack it all back up before the next move. Setup and teardown, every time the wheels rolled.
It worked. It just got old.
So last May we put the Gen 3 Starlink up on the roof of our Brinkley on a Trio Flatmount, and we have spent a full year and a full season of moves living with it. Here is the honest report.
Why the roof
The whole point was simple: we wanted the dish to live up there permanently. No tote, no actuator, no setting up on the ground. We wanted to roll into a site and already be online before the slides were even out.
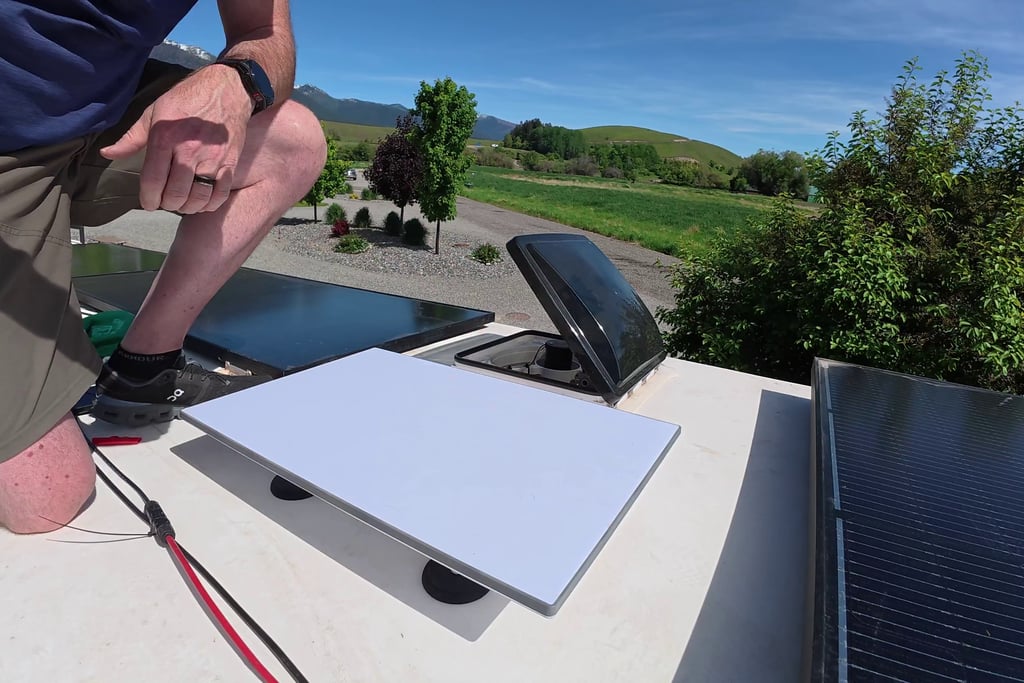
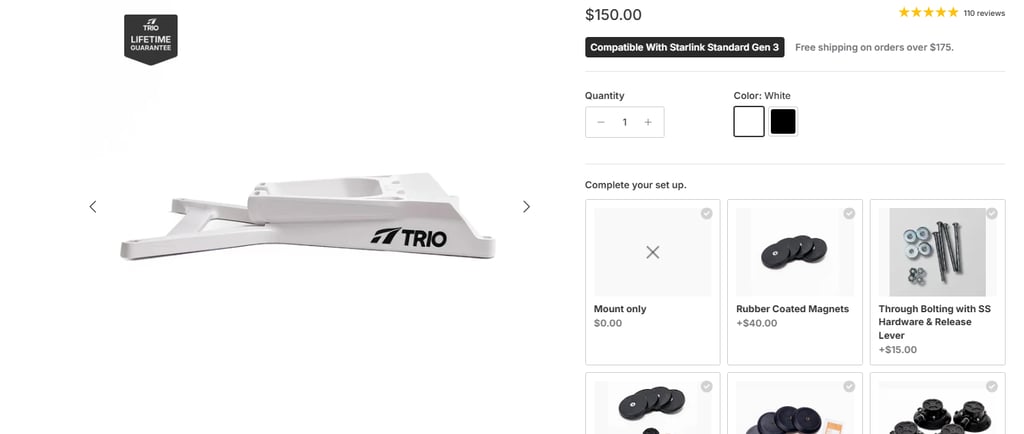
That is exactly what the flatmount does. The dish clicks into a low-profile mount that stays bolted to the roof, and the cable runs straight down into the rig.
The install, and two things we would tell you first
Ben handled this one, since the roof is his department. The full step-by-step is in our install video, but here is the short version, plus the two tips we wish someone had told us before we started.
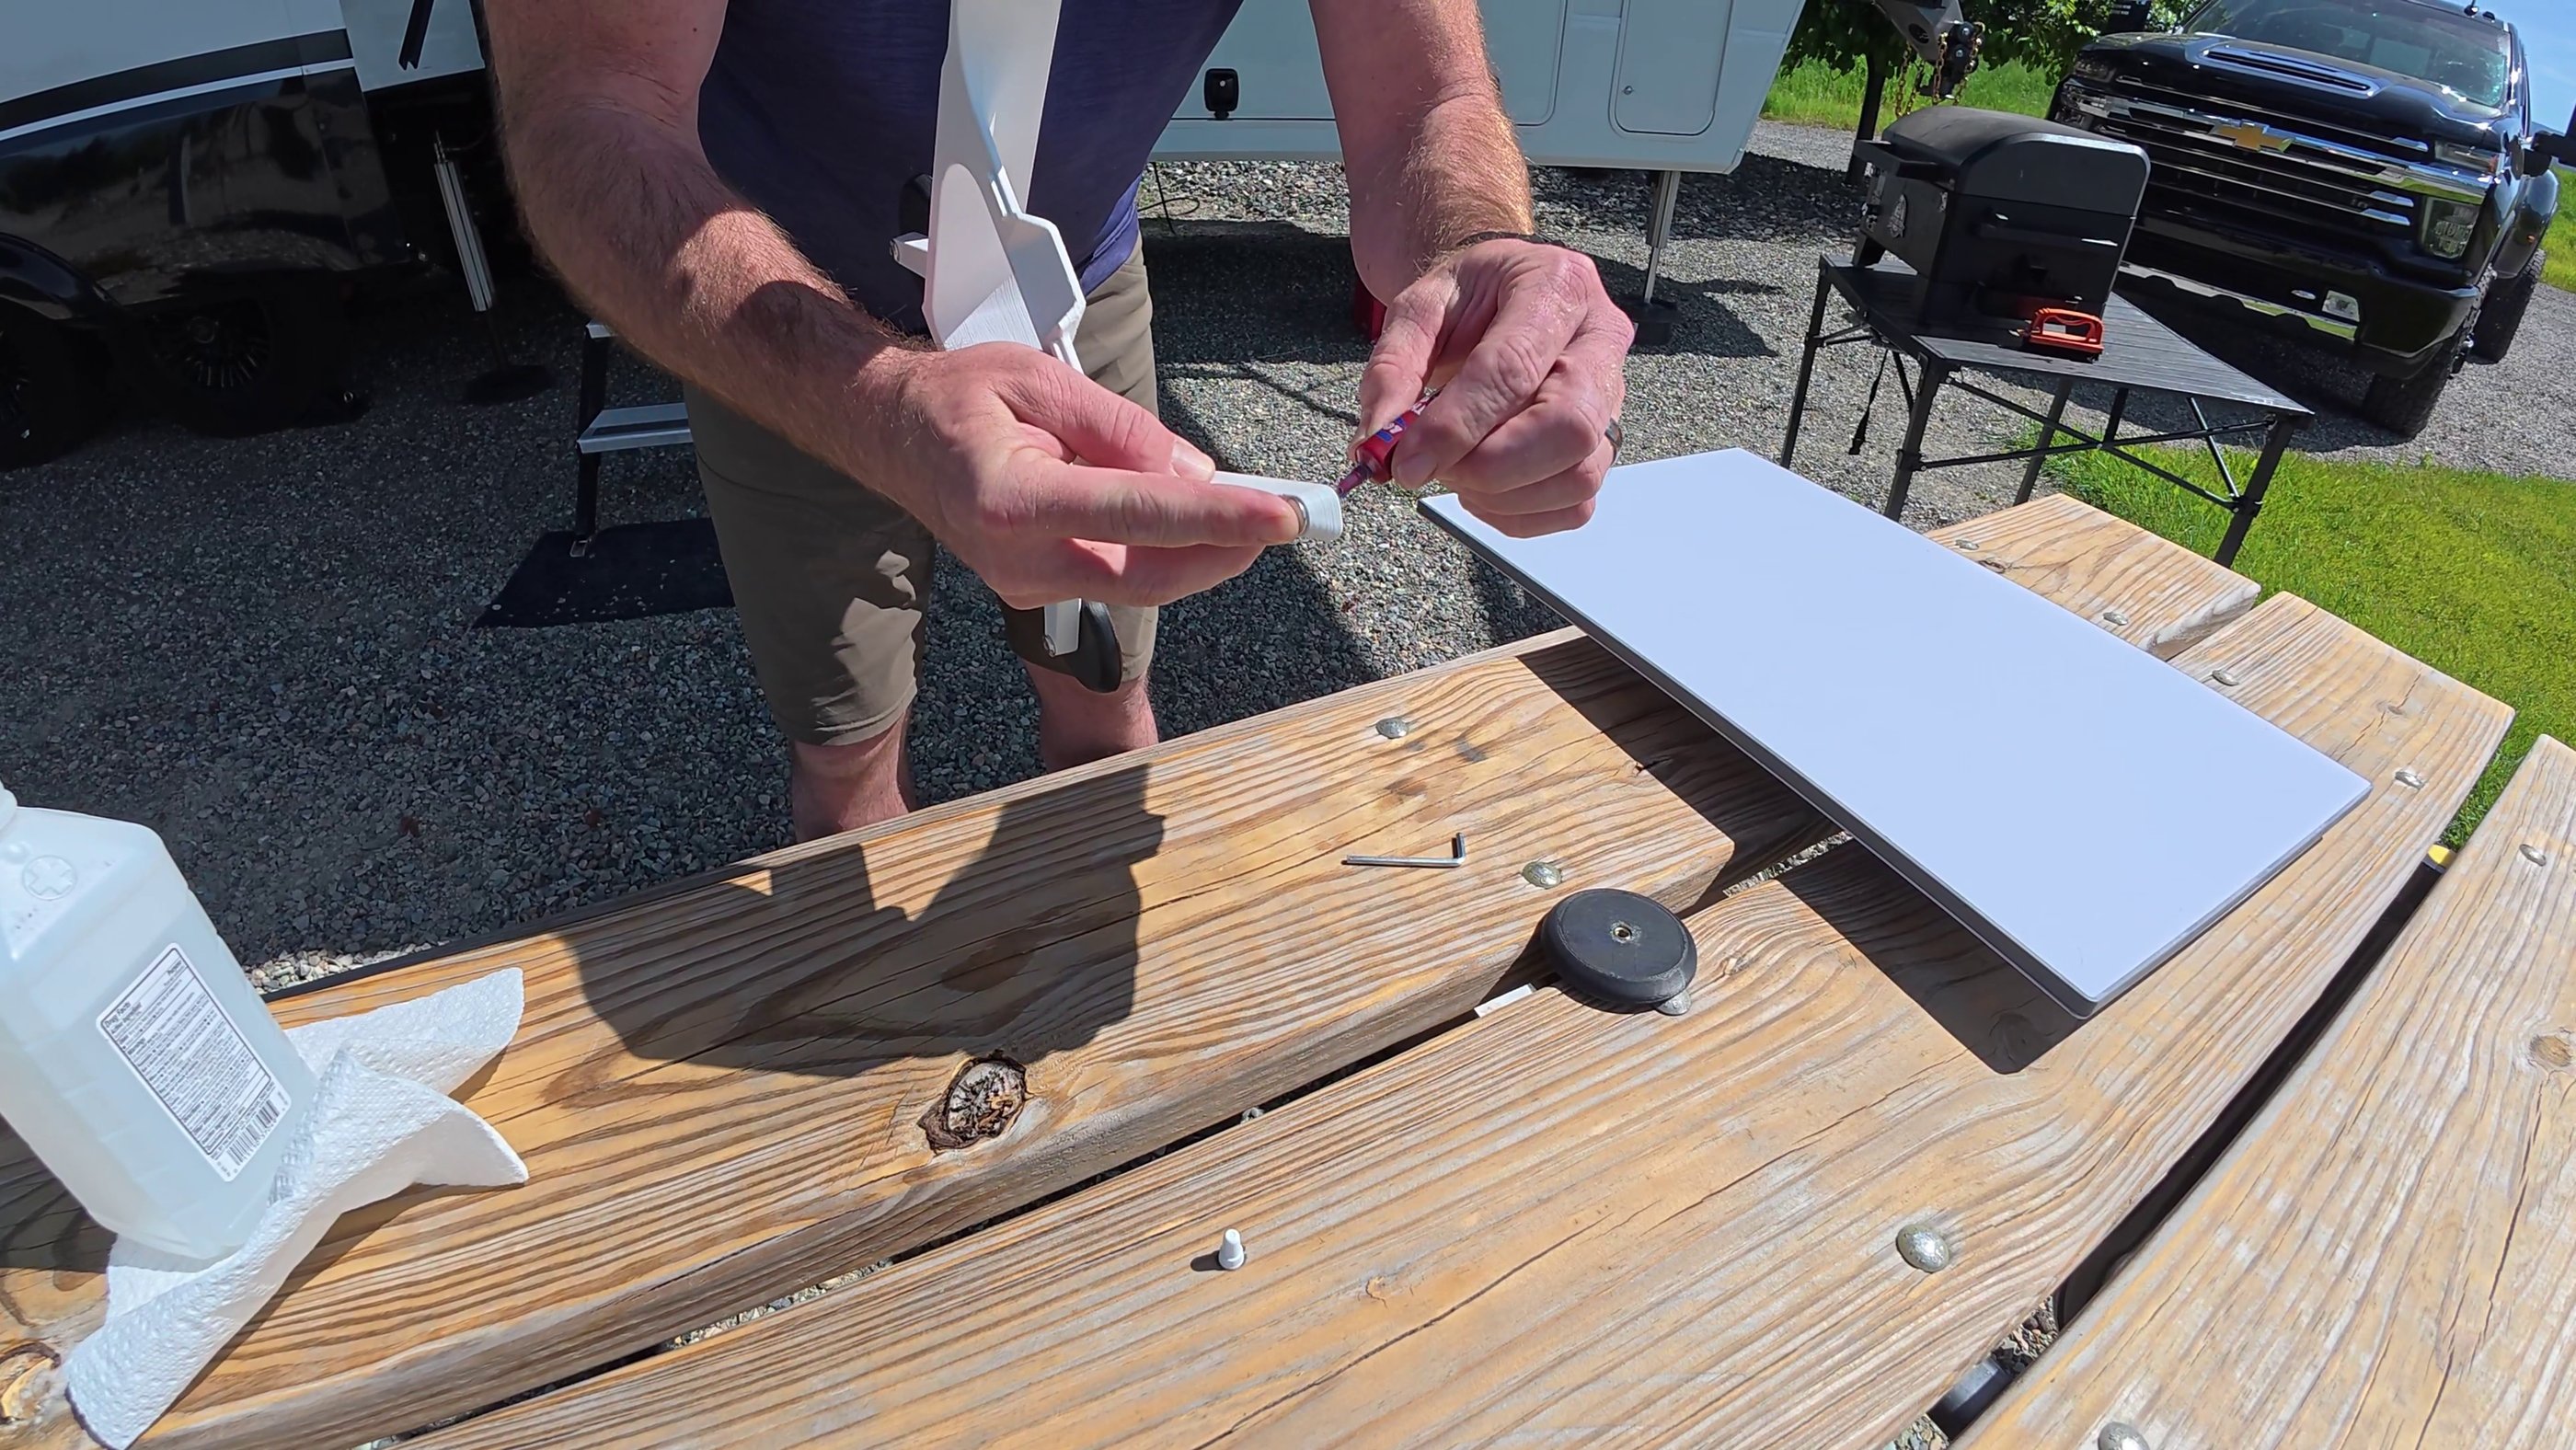
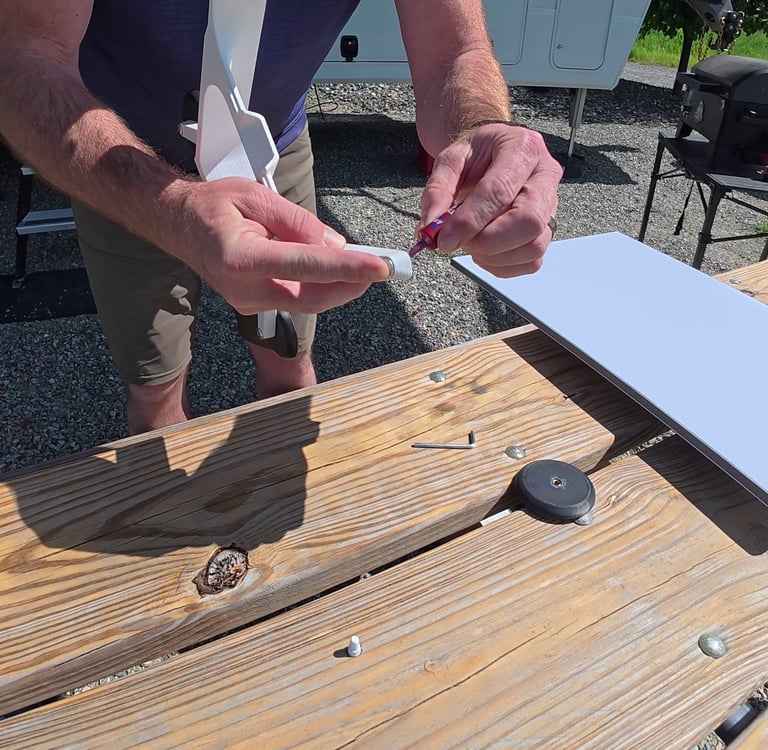
Loctite the feet. The adhesive feet on the mount can back themselves out over time. A drop of Loctite when you install them means you are not chasing a loose foot down the road.
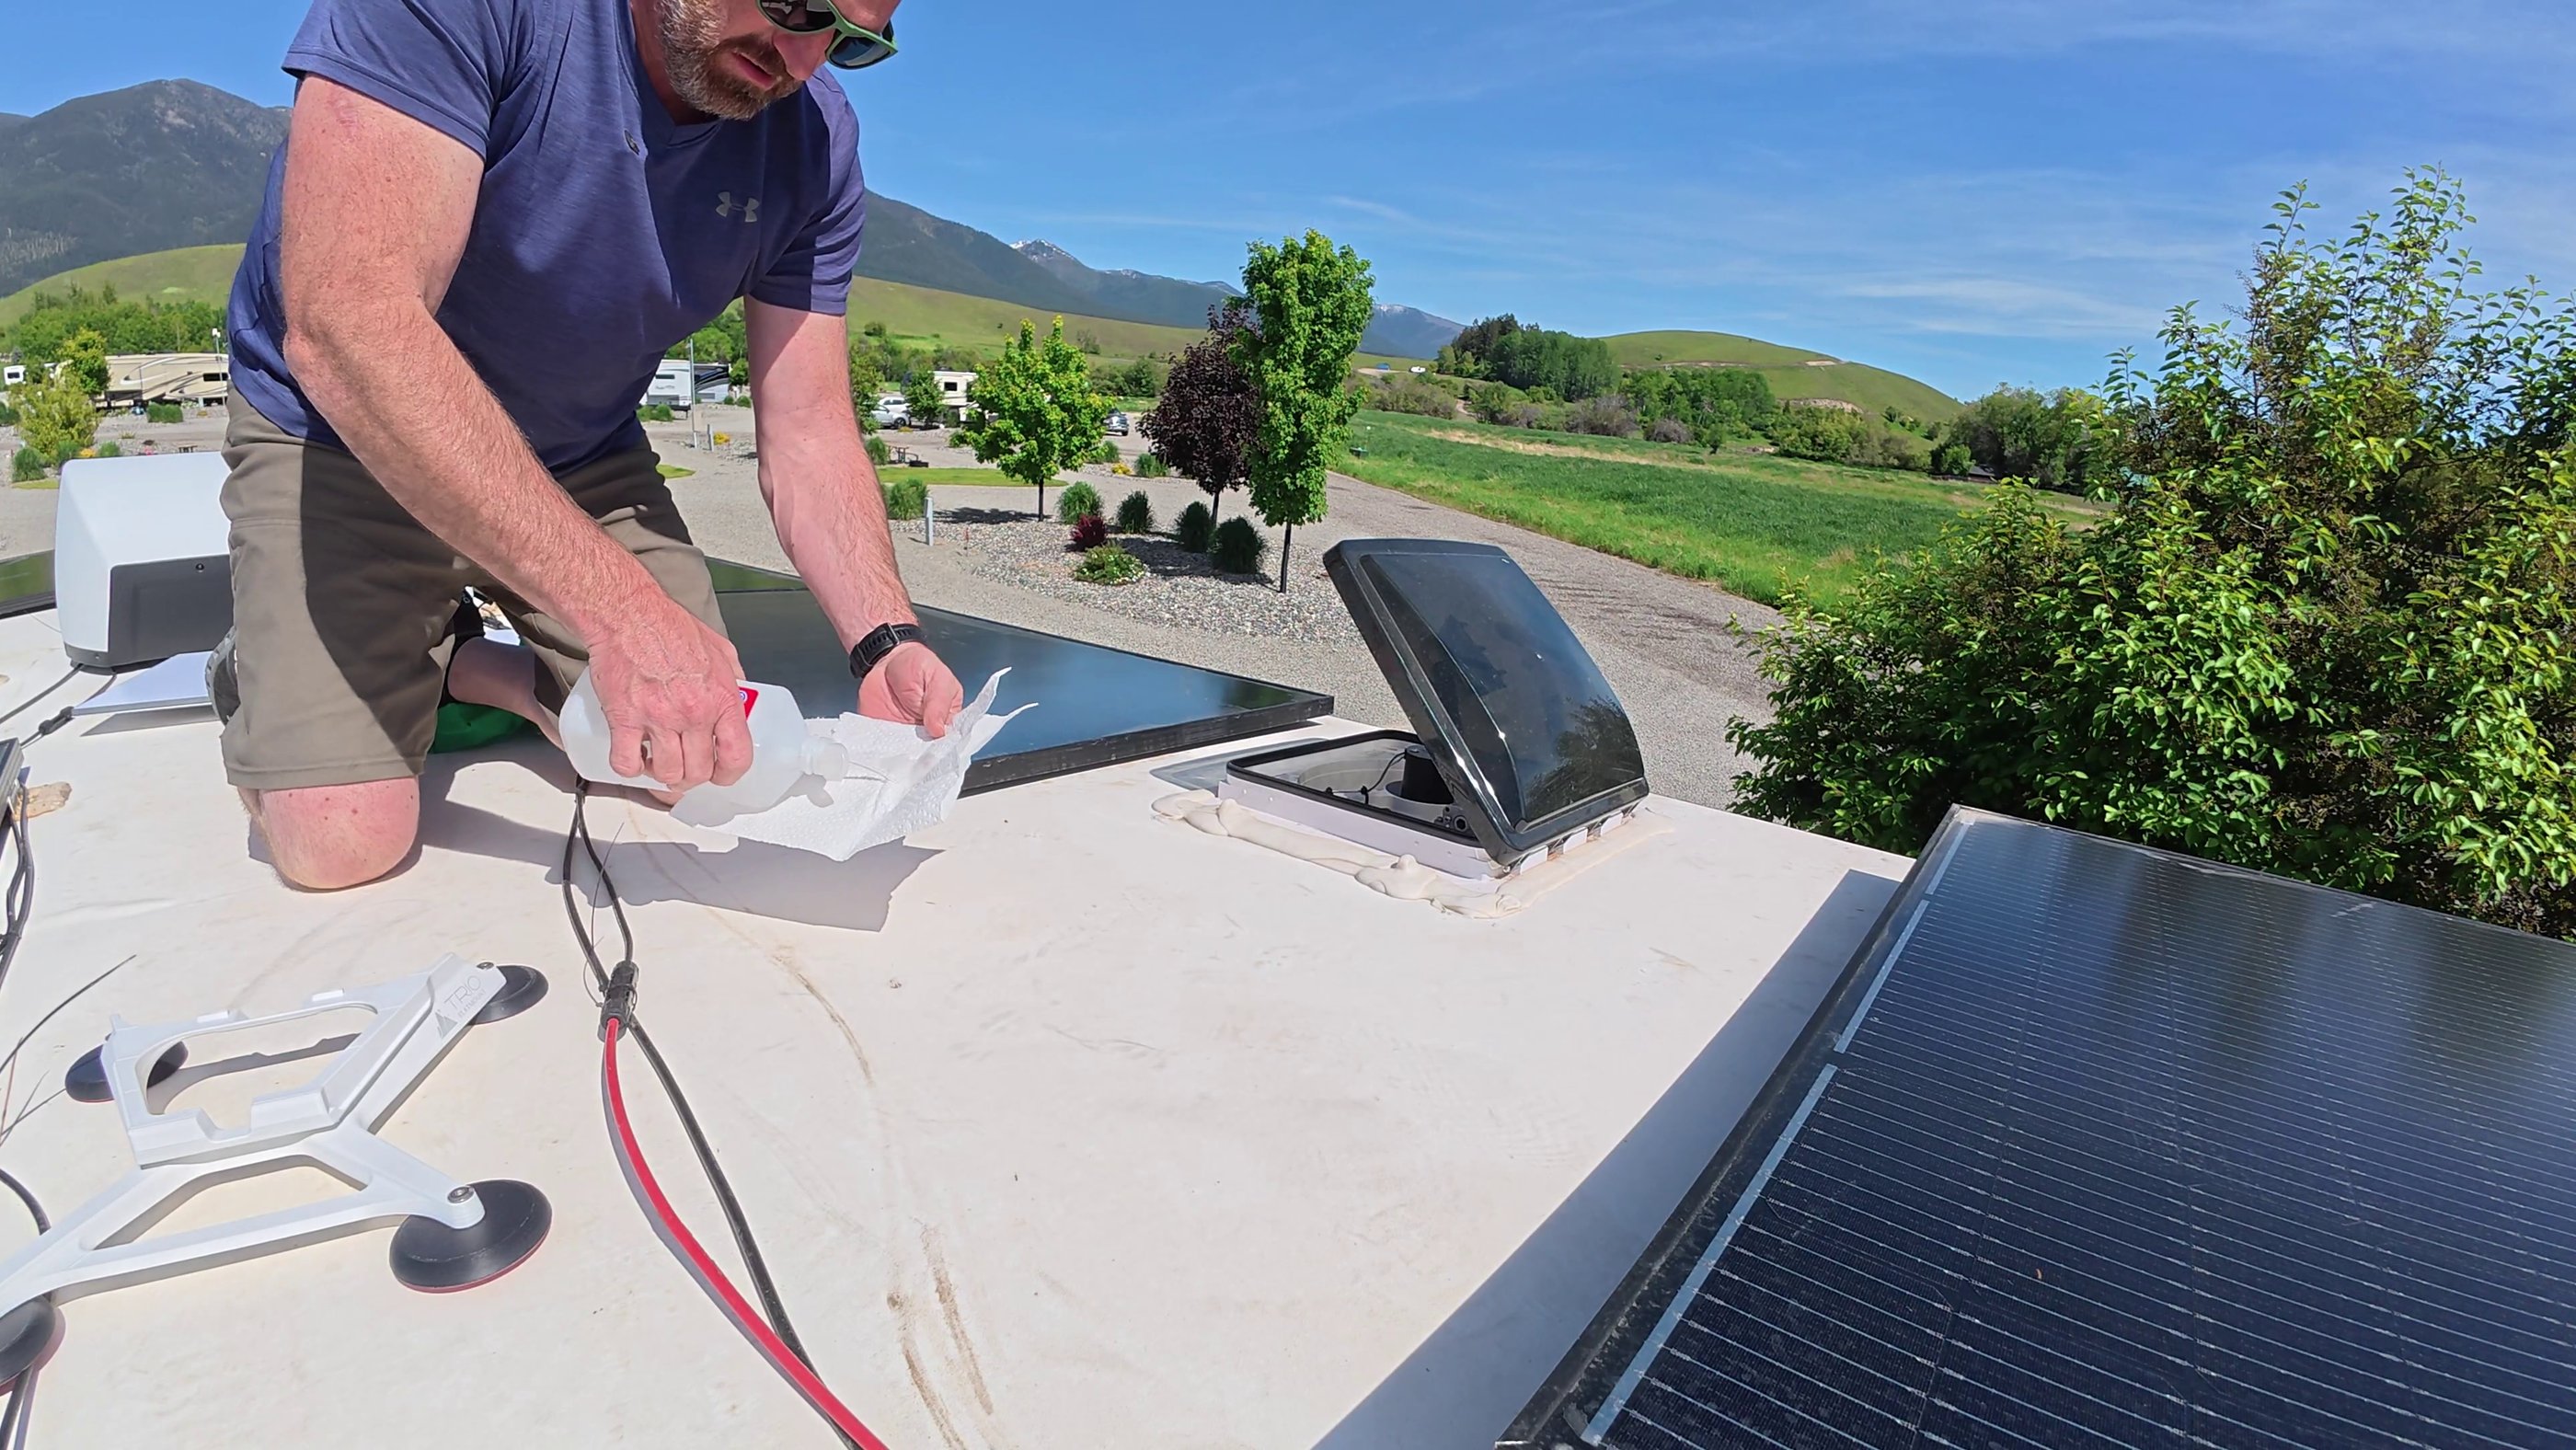
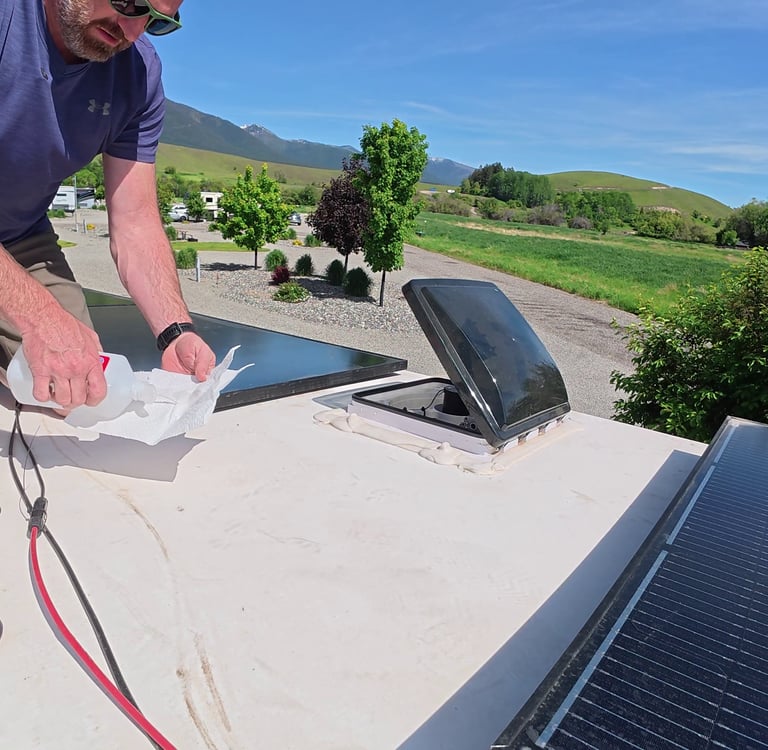
Clean the roof with isopropyl alcohol first. The bond is only as strong as the prep. Wipe down the membrane before you press the mount down, and let it cure a full 24 hours before you trust it.
Beyond that: position it away from your vents and solar panels, give it a clear view of the sky, and keep it close to your conduit run so the cable has a short, clean path to the basement.
Everything else is patience and a good crimper.
The part we did not see coming: internet in motion
Here is the upgrade we did not fully appreciate until we were driving.
With the dish on the roof, we have internet while we are moving. Maps loading, phone calls connecting, music playing, all of it holding in places with no cell signal at all. On long empty stretches where our phones used to go dark, we just keep going.
But there is a catch worth knowing before you set yours up, because it had us frustrated for a while.
Android Auto wireless and the "Wireless interference" fix
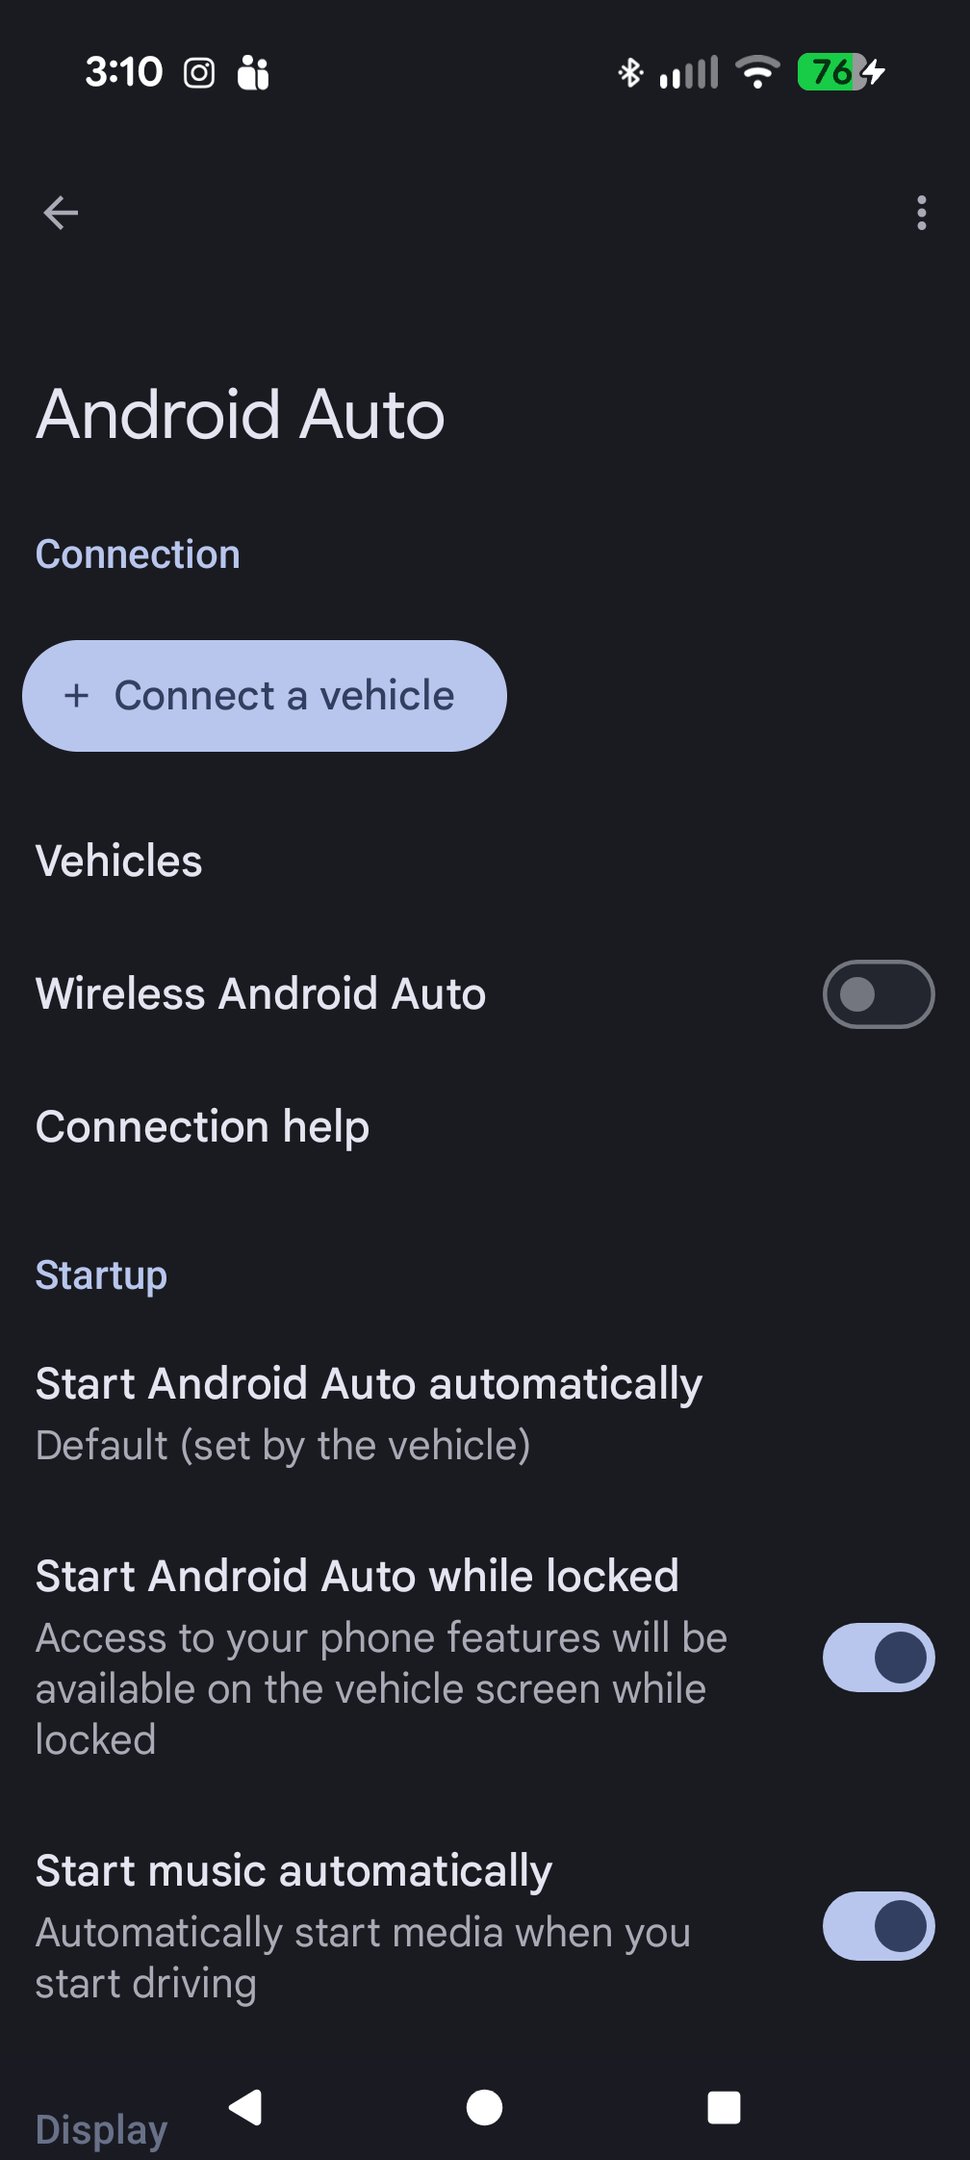
Here is what was actually going on. With Android Auto running wirelessly, the truck hijacks the phone's wifi to hold that connection. That meant our phones could not stay on the Starlink wifi at the same time. So the moment we drove into an area with no cell coverage, we had no service at all, exactly when the rooftop dish should have been carrying us through.
There is a stretch coming down from Lake Mead into Las Vegas where it dropped for a solid three miles. Every single time, with a "Wireless interference" warning on the phone.
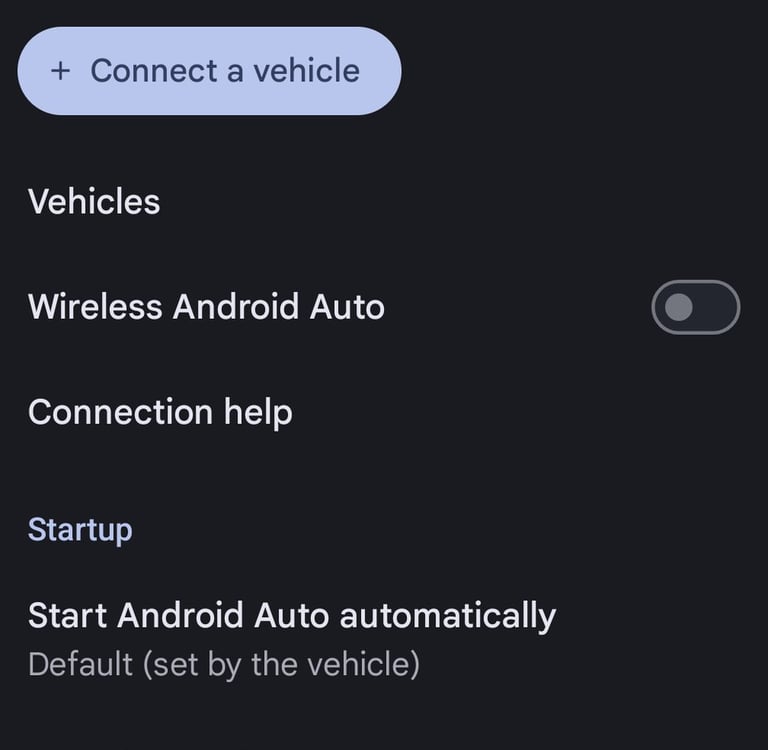
The fix turned out to be simple, and here is the part worth knowing: you do not give up Android Auto to do it. We just disabled Android Auto wireless. That freed the phones from the truck so they could hold the Starlink connection, and we still use Android Auto, only over the cable now. Nav and calls hold steady through the spots that used to leave us dark.
If you run Android Auto wireless and your service drops in dead zones, that is the first thing to check.
The honest part: power
We will not pretend this is free.
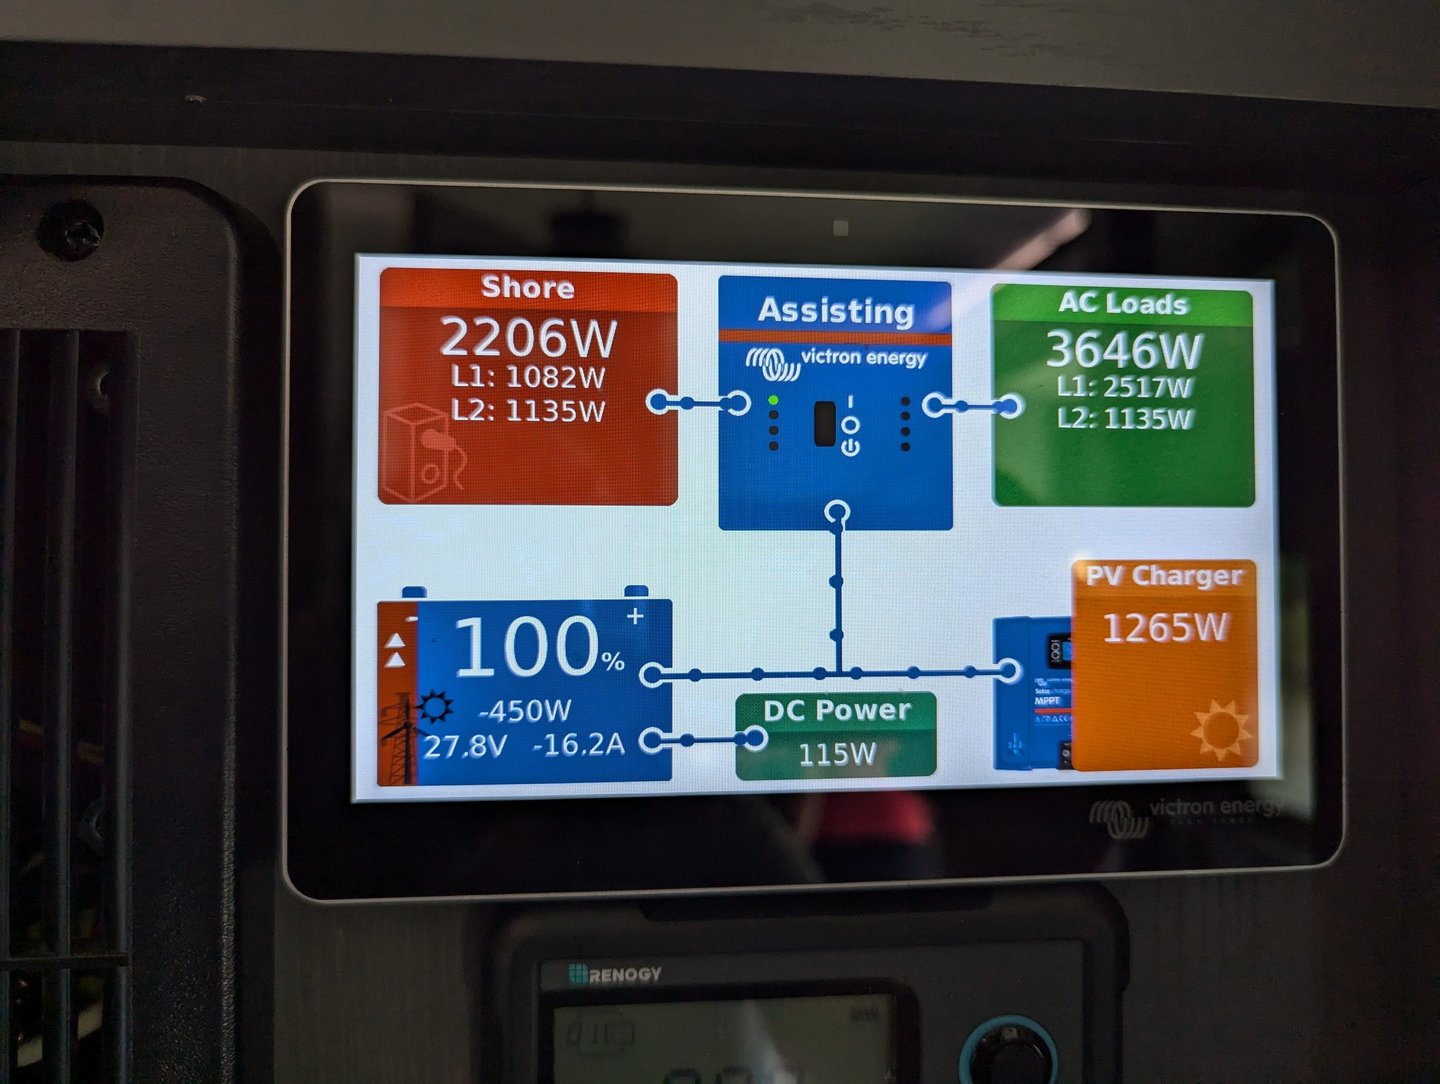
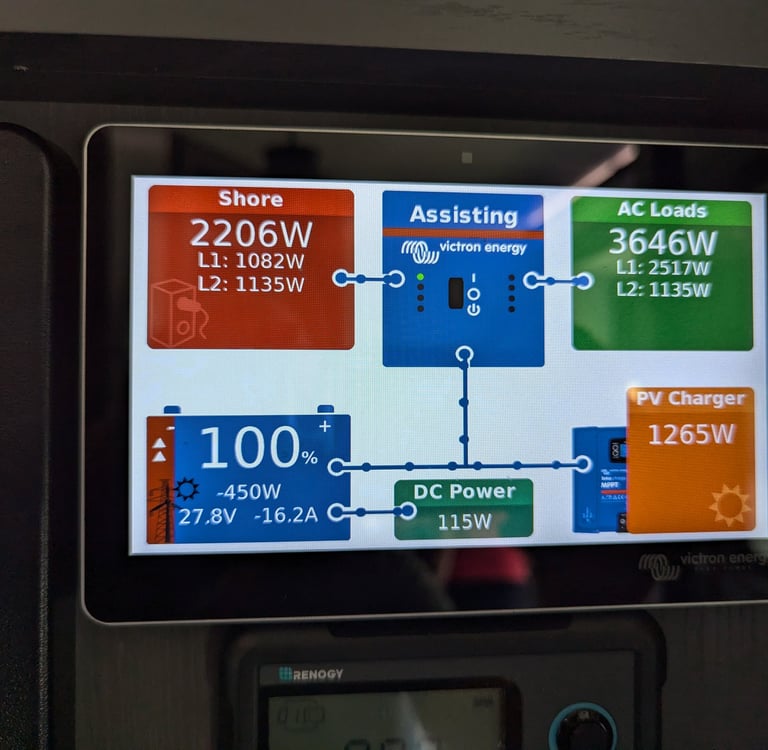
We leave ours running more or less whenever we want, because we built our rig for it. We have a large battery bank and a 3000W inverter, so the draw is not something we think about much.
Not everyone has that headroom, and that is completely fine. If you boondock, make sure your inverter and battery bank can actually sustain the draw before you count on running it nonstop. Most folks would not leave it on while they are driving anyway, so for a lot of setups this is less of a problem than it sounds. Just know your numbers before you assume.
So, would we do it again?
Without hesitating.
The number that says it best: in a full year on the road, we have only had to take the dish off the roof three times. All three were for tree cover. That is it.
Three times in a year says two things. It says the Gen 3 has the reach to punch through from a fixed spot most of the time, and it says the roof of an RV is a genuinely good home for the dish far more often than we expected.
The one thing we would do differently? Get the mount squarer. The second foot grabbed a little sooner than Ben meant it to, so the whole thing sits about half an inch out of square. It is up on the roof where nobody can see it, which is the only reason his mild OCD has learned to live with it.
And the thing that turned out to matter more than any of the convenience: being able to make a phone call when you are a long way from anywhere. The peace of mind that comes with that is hard to put a price on.
Who this is for
If you move often and you are tired of the tote routine, or you want reliable internet while you are actually driving, the flatmount is an easy recommendation. A year in, it is one of the best quality-of-life upgrades we have made to the rig.
The gear we used:
If you have questions about the setup, leave them in the comments. We read all of them, and chances are if you are wondering about something, someone else is too.
See you out there.